Azure File is a service in Azure Storage Accounts such that I look at it a managed network file share. For a further introduction read Introduction to Azure Files
A practical use case for me in a development team scenario is where each team member has its own or shared Azure Virtual Machine and there is a need to share files. A traditional approach I have seen is using on-premises network file shares.
The type of files one can store are software installation files, scripts, local Git repos, developer and system admin documentation, etc. But I wouldn’t suggest this to be a replacement for project and document management solutions such as SharePoint or TFS.
Other alternative approaches may not feasible such as Dropbox or online cloud drives where they have network policies and security policies that discourage or limit use. Or on-premises network file shares may not be accessible or the network latency is too slow.
Another viable option is to share Azure files across dev, system integration test, user acceptance test or even production environments. This is where you may want to have convenient access to specific scripts for maintenance and troubleshooting.
I think Azure Files is flexible and a good starting point until your organization is readily supporting cloud drives and other options to work in an established governance model with their Azure public cloud.
- Create a Storage and File Share

Note that when choosing Performance over standard, only Blob storage available. As premium configuration is designed for supporting virtual machines. - Create File share in storage account. Click File share

Enter name of file share and any quota in GB. In my case the name is oneteam. - In the newly created file share, click Connect to see ways to mount the file share in virtual machines. I choose to use the net use command. It requires credentials such as the storage account key. Copy the command.

- Login into the various virtual machines to mount the file share. For detailed instructions and background, read Mount the Azure File share with Command Prompt
The first command is to mount to Z: drive. The second command is to store the credentials to automatically reconnect on reboot.
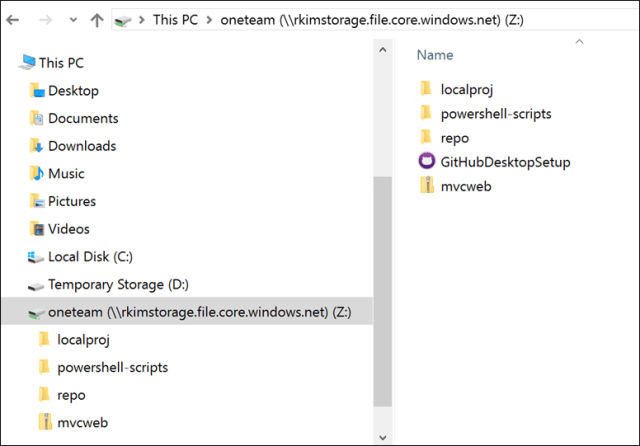
- In one of the virtual machines using windows explorer, the file share has been mounted to Z: drive and view of the folders and files.
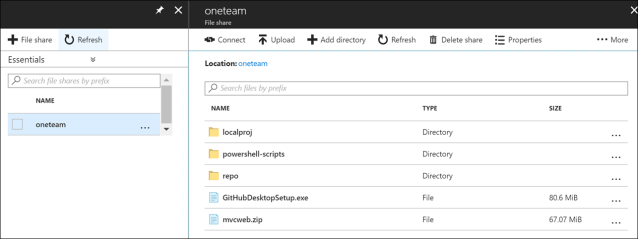
- In the Azure Portal, you can see the same files
- You can also manage files from Azure Storage Explorer.

For further security to isolate from public internet access, you can enable the storage service endpoint and setup virtual network integration in the VNets of your virtual machines.
As virtual machines can be shutdown, you can still access these files in the Azure file share anytime. This is a more flexible approach than leaving shared files tied to one virtual machine’s disk.

Reblogged this on The Flying Maverick.