In planning to host a very low traffic web site, I find Azure Web App to be expensive compared to other managed hosting providers. The cheapest App Service pricing option is the Free tier. But these do not support https and custom domains. Even B1 Basic is a bit pricey at $81CAD/month if you hosting just one web site under the one App Service plan.

I will show how to host on Free tier and get some of the features that are essential for a viable public website by using Azure CDN as a proxy.
Here are my requirements:
- Host an ASP .NET web site on Azure App Service
- Performance/Load: Very low traffic.
- Web site is generally a static and is updated on occasion. Assume every few weeks.
- Support custom domains and https
- Create an Azure Web App along with a new or existing Azure App Service Plan with the free pricing tier.

The free tier is on a shared compute infrastructure with other customers. As well as CPU quota such as 60 CPU minutes per day for free tier.Click Create and wait for the web app to provision. - To deploy an application from a repository, I click Deployment option and I choose to deploy from a GitHub repo in my GitHub account.

Before I choose a project, I had already forked a repo from https://github.com/Azure-Samples/app-service-web-dotnet-get-started

Wait for some time as the application deploys

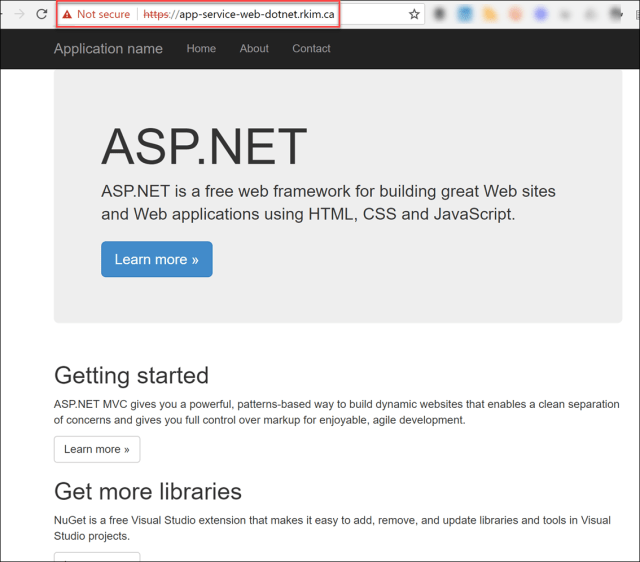
- To validate, visit the web app using the azurewebsites.net based URL.

- To setup the Azure CDN, click the Networking blade and then Configure Azure CDN for your app

- Create a new Endpoint
I consider this endpoint like a proxy to the Azure Web App.

I chose Premium Verizon considering $0.21 CAD per GB is still very cheap as long as you don’t have many hi-resolution audio, video and images.

Upon creation you will see the following
 I had to wait about 20 minutes before the azureedge.net based URL loaded my web app successfully. It may take much longer in other cases.

- To add a custom domain to the Azure CDN endpoint, click on Custom domains and + Custom domain


As indicated in the instructions, go to your DNS provider and add a CNAME first. - Going to my DNS provider and managing the DNS records, I add a CNAME record

- Go back to Azure Portal and add the custom domain and the custom hostname is verified.

- To add HTTPS support to the custom domain, click Custom domains, click on your hostname and enable custom domain HTTPS.
The attractive feature is that the SSL certificate is included with the Premium Verizon plan

- Verify custom domain
The end.

Pingback: Load Testing Azure CDN Caching with Azure Web App – Roy Kim on Azure, Office 365 and SharePoint
Great Article Roy.
One issue I had was URL rewriting. I added a www CNAME record for my domain, pointing to mysite.azureedge.net CDN endpoint, and I linked my custom domain to the CDN with SSL from the Azure portal as described in this article. But when I visit mydomain.com, it redirects me to mysite.azureedge.net and the address bar in the browser shows the CDN address instead of my domain. Not sure if this is a bug, as I’m using the new Microsoft CDN in preview mode.
Hi Bora,
I think this is more around DNS settings. Did you add a CNAME record “cdnverify.contoso.azureedge.net”?
See full instructions: https://docs.microsoft.com/en-us/azure/cdn/cdn-map-content-to-custom-domain