My Situation & Objective:
I have an Azure Virtual Machine used for development purposes and I want to move/copy into a my existing Azure DevTest Lab.
Purpose:
To take advantage of the great features and pricing discounts that DevTest Lab has to offer.
High Level Process:
- Identify and locate the .VHD file of the VM
- Copy .VHD file to DevTest Lab storage blob container, using Azure Storage Explorer
- Create a custom image
- Create VM from custom image
- Login via RDP connection
Step by Step Procedure:
- Identify the VMs .vhd file in the storage account blob container
- In an existing DevTest lab’s storage account’s blob container, create a folder called uploads

- There are three ways to copy/upload the vhd file.
Upload using the AzCopy command-line utility
Upload using the Microsoft Azure Storage Explorer
Upload using the PowerShell console - My preference is to use Microsoft Azure Storage Explorer
Simply copy the source .VHD file

Paste into the DevTest lab’s storage account’s blob container uploads folder.
I chose to rename the .vhd file to something more user friendly.

- Go to your existing DevTest Lab
- Click Configuration and policies

- Select Custom Images

- Click Add

- Go to All virtual machines
Click Add
Choose a base by finding the newly created custom image

- Add VM specific configuration to create the VM from the custom image
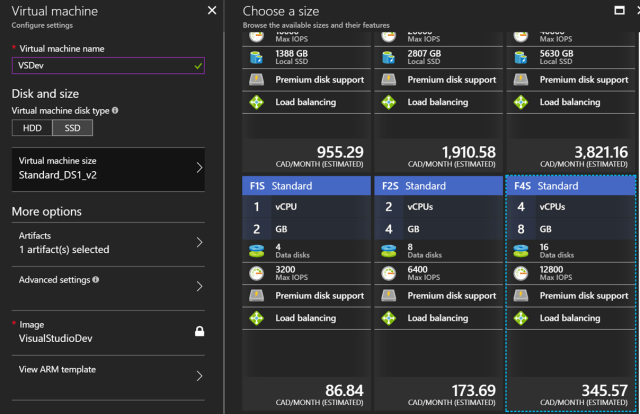
In Advanced Settings, choose additional configuration

Select Public for IP address configuration for convenient and direct access from the internet. Although not the most secured approach of course. - Virtual Machine has been created

- Click into the VM and click Connect to download the remote desktop connection .rdp file.

- RDP Login
Use the original username and password when you last logged into the server.
References:

Pingback: My Favourite Azure DevTest Lab Features for the Developer Team Lead – Roy Kim on Azure, SharePoint, BI, Office 365