Azure Batch Solution Configuration
To build out the solution design in my previous blog article, these are the following steps and design decisions.
-
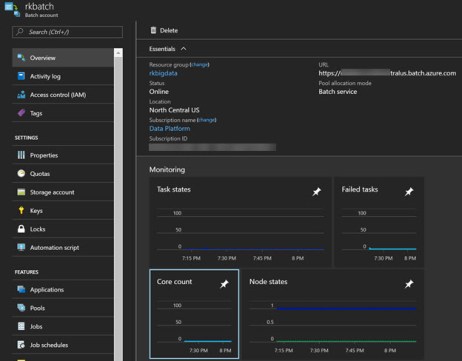
Create a batch account
To create an Azure Batch application, you can follow the steps outlined in the article Create a Batch account with the Azure portal
Provisioned Batch account
I previously created a storage account for my .NET console applications
-
Applications blade
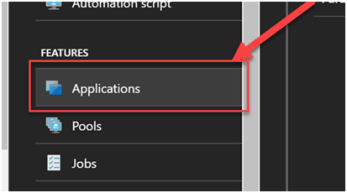
Add a compiled application that can be deployed to batch pools.- To add a .NET console application, I compiled my application in Visual Studio
- Go to the .\bin\debug folder and zip up all files.
- Upload the zip file and enter Application Id and Version.
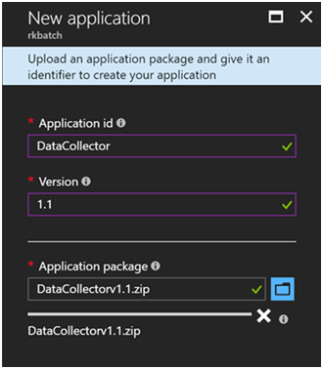
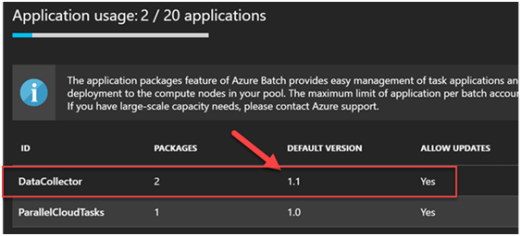
- In this case, I have added a 2nd package into the DataCollector Application Id
-
Pools
- Click Add

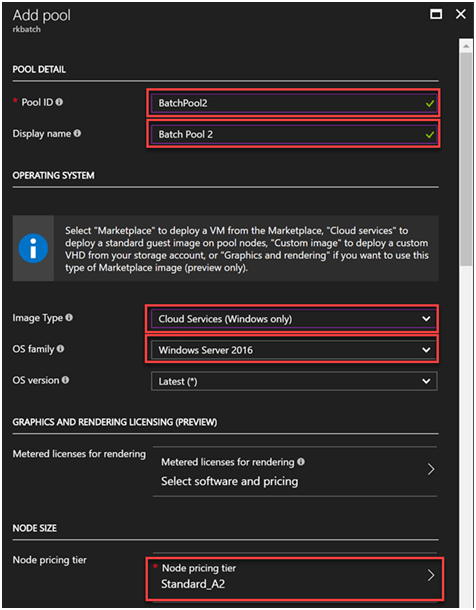
- Enter a Pool ID and necessary configuration
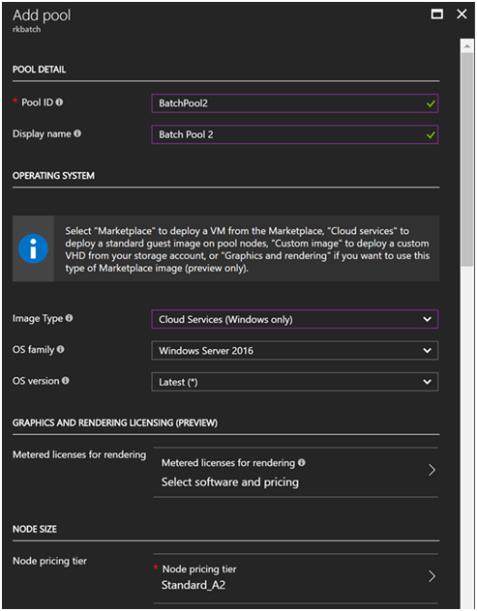
- Windows Server 2016 VM
Standard_A2 2 cores 3.5GB RAM
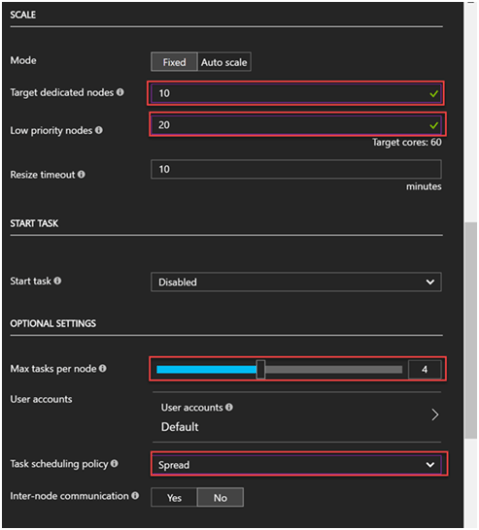
- 10 dedicated nodes (VMs)
- 20 low priority nodes (VMs). Since these VMs are lower cost and are taken from a surplus capacity, they can be taken away at any moment. In other words, preemption. Any running tasks during preemption are requeued against another node.Since the VM size is A2 with 2 cores, there are 60 total cores among the dedicated and low priority nodes.
- The max tasks per node are 4. In my case, each task is an execution of the .NET console application.
- Task scheduling policy is set to spread which will create tasks across nodes in a round robin fashion vs pack which will fill a node of tasks before scheduling to another available node.
Set the application package to the one just uploaded so that it will be deployed to each node as it is provisioned.
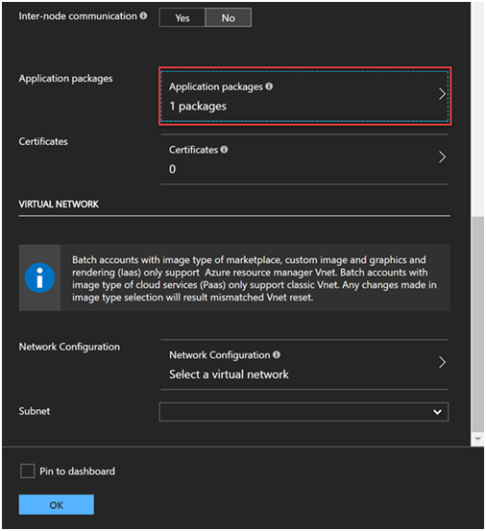
Click OK
Nodes in the pool in the process of being created
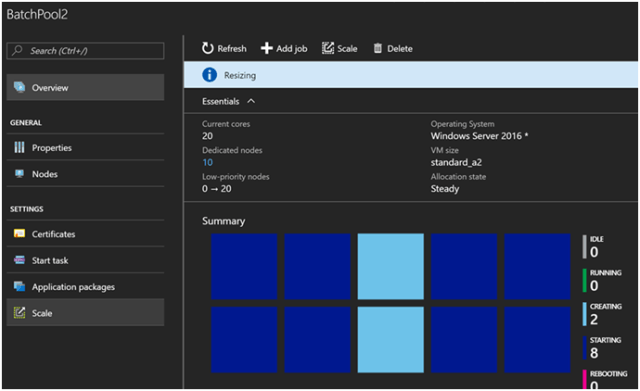
Still in the process of completing. 2 are read but 8 are starting. At this point, 10 dedicated nodes are almost ready, but no low priority nodes have been made available yet as there is no guarantee.

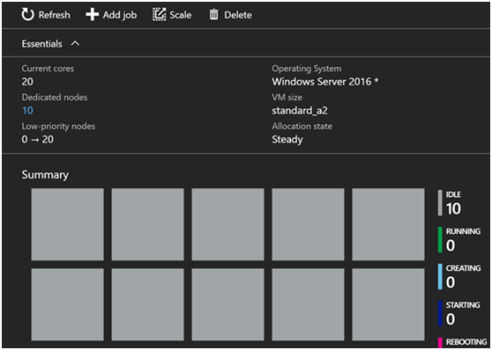
10 nodes are idle and ready for execution. This took about several minutes.
- Click Add
